Top Chokehold Release Techniques Analysis on the Ground, the Second Article
- Gil Peleg

- May 8, 2022
- 8 min read
Updated: Jun 16, 2022
This article is a natural continuation of our previous article on the subject, (Top Chokehold Release Techniques: In Israeli Krav-Maga), so it is recommended to read it first. When, in this article, we focus on the problem of applying realistic exercises from different self-defense methods, and in this case, it is the KALAH Combat System. Our goal in this article is to understand the risks and chances of effective self-defense against suffocation on the ground when the attacker is from above, and from the side of the victim. We will try to answer two questions below: What is a side choke on the ground? How KALAH Combat System copes with a side choke on the ground? What does the training equipment of the Self-Defense trainer include? How important is personal protective equipment when practicing Self-Defense? With what equipment is it recommended to practice Self-Defense at home? How important is cardiopulmonary endurance in Self-Defense workouts?
Warning!
The concepts presented here are for illustrative purposes only. Before attempting any technique discussed or presented in this article, seek professional training from a reputable instructor.
What is a side choke on the ground?
In the video above, Idan Abolnik and his student demonstrate Chokehold Release Techniques Analysis on the Ground.
In scenario-1, assumptions are made: the attacker does not use force in the choke and does not resist the use of counter-defense; the attacker is on the left side of the victim and presses a gargle with both hands. In some self-defense methods it is common to deal with this dangerous situation in a number of ways below:
Way A: The blow to the chin, assuming that the blow had an effect, infliction of another blow with the same hand to the chest. Continuation of the exercise is conditional on the success of the previous stage and in the assumption of success, should be done next: A - Pushing the knee to the area of the attacker's upper abdomen - lower chest, B - Blocking the attacker's right hand and performing a push blow using the victim's left leg.
Way B: Exactly the same as in Way A, except at the end of the exercise, i.e. there are those who teach to perform a right-hand lock of the attacker using the left leg of the victim.
Way C: Exactly the same as in Way A, except at the end of the exercise, i.e. a banal push using the victim's right foot.
In scenario-2, assumptions are made: The attacker uses only thirty percent of his power, performing a choke on the victim. The other assumptions are the same as in scenario 1. When, even during the use of thirty percent of the force, the victim is under shock by the lack of oxygen. See our previous article on the issue, (Top Chokehold Release Techniques: In Israeli Krav-Maga). When the victim tries to hit Chin or Throat from below, the attempt fails because, the attacker from above performs neutralization blows to the face: he has more power, acceleration inertia due to being up and uses the gravitational force of the earth for that matter. That is, using Scenario 1 seems impossible in general and with high survival risk in particular, see our previous article on the subject, (A Top Mathematical Model for continuous improvement of All Self-Defense methods).
Expert opinion: According to Abolnik Idan, the entire exercise should be treated as a set of movements that make up a survival risk, as a result, he raises a question, and rightly so ... What is the risk in performing the first part of a scenario? Will the victim survive this part to continue a counterattack at all? Interesting questions that every teacher and trainee should draw from different types of self-defense ... After all, the field of self-defense is essentially designed to be realistic, and there is no room for delusion!!!
How KALAH Combat System copes with a side choke on the ground?

According to Abolnik Idan, it is advisable to consider first disabling the attacker's ability to strike and choke from above. How to do it? The answer is simple, control the hands of the attacker, and in addition, bring them closer to the body of the victim. When, the method is basically built on lifting hands up, close to the face, and close to each other. We will explain two ways to continue this scenario.
Way A: When the premise is that the attacker is on the right side of the victim. The victim will lock the part of the left arm bone of the attacker, at the same time the victim will lock the right forearm of the attacker. That is, he will bring the victim closer to his body. That is, up to this point it is possible with a high chance that the victim will be able to prevent the attacker from strangling and punching in his face. Now, the victim will try to get up and roll, using his grip on both hands of the attacker. When at the end of the exercise the victim is above the attacker with his hands locked. In this position, the victim is in a preferred position and can perform blows with the head, elbow, and forearm of the left hand. When the victim's right hand is still locking both of the attacker's hands.
Way B: The victim will lock the part of the left arm bone of the attacker, at the same time the victim will lock the right forearm of the attacker. When the sequel is a neck lock of the attacker using the forearm of the left hand. Rolling along with the attacker when both hands locked. In this position, the victim is in a preferred position and can perform locking of the left Attacker’s hand by the right leg (Tibialis Anterior). In this situation the victim using the right hand will perform neutralization blows, when, the attacker is locked in both his hands and is almost unable to resist.
What does the training equipment of the Self-Defense trainer include?
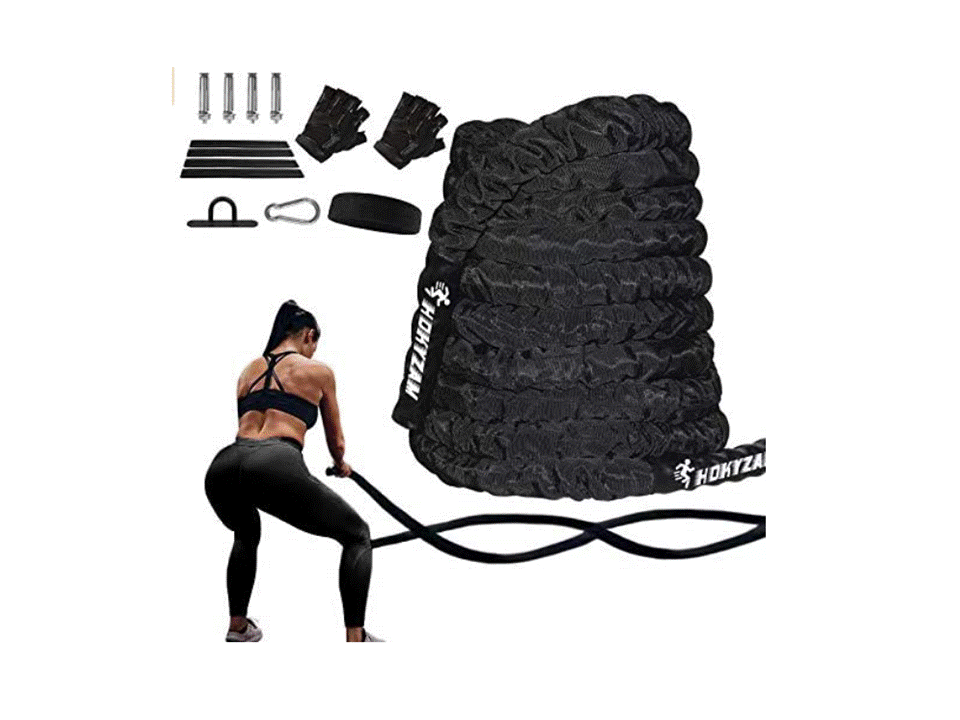
Following the history of the method, great importance is attached to the formation of functional muscles. On the one hand, it is necessary to work on speed and agility in movement, and on the other hand, to develop muscles to increase strength and power. To succeed in this task: Need to work with small weights, many reps in each set; Also combine with strength training, it is advisable to consult with a trainer so as not to damage the muscle ligaments; It is recommended to work with a wrist expander and rubber for dynamic loading; With heavy training rope; a lot of reps on a heavy and light boxing bag; With a punching bag, etc ... It is imperative to practice throwing, choking, blocking, kicking and punching. Punches and knees on the trainer's abdomen may only be performed with suitable and safe belly protectors! In the tactical training of Krav-Maga, rubbery equipment is used like knives, padded sticks, etc... One needs to use equipment that has passed strict safety tests. When signing up for a club, check if their gym floor is well protected and if there is a suitable protective pad against falls, throws, etc. Below is a list of the recommended trainer equipment when teaching Krav-Maga:


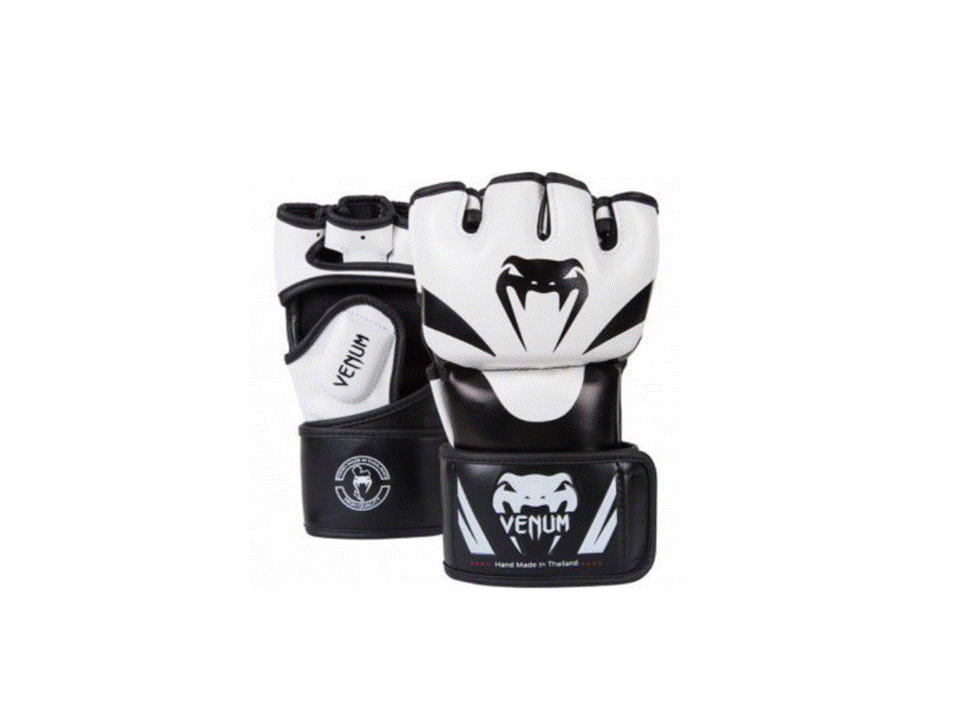
How important is personal protective equipment when practicing Self-Defense?
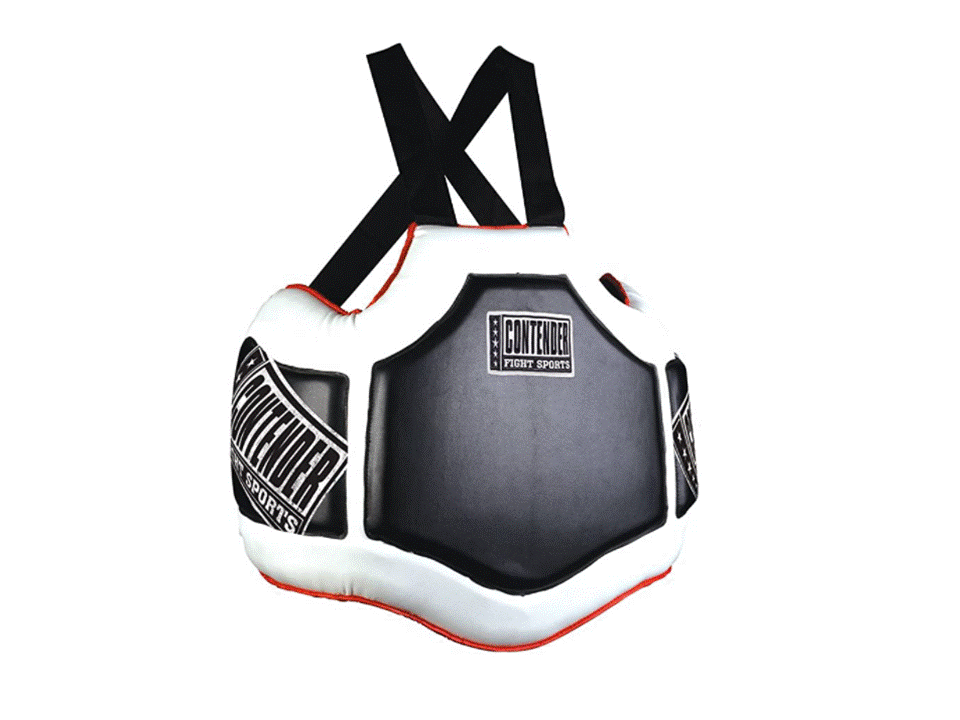
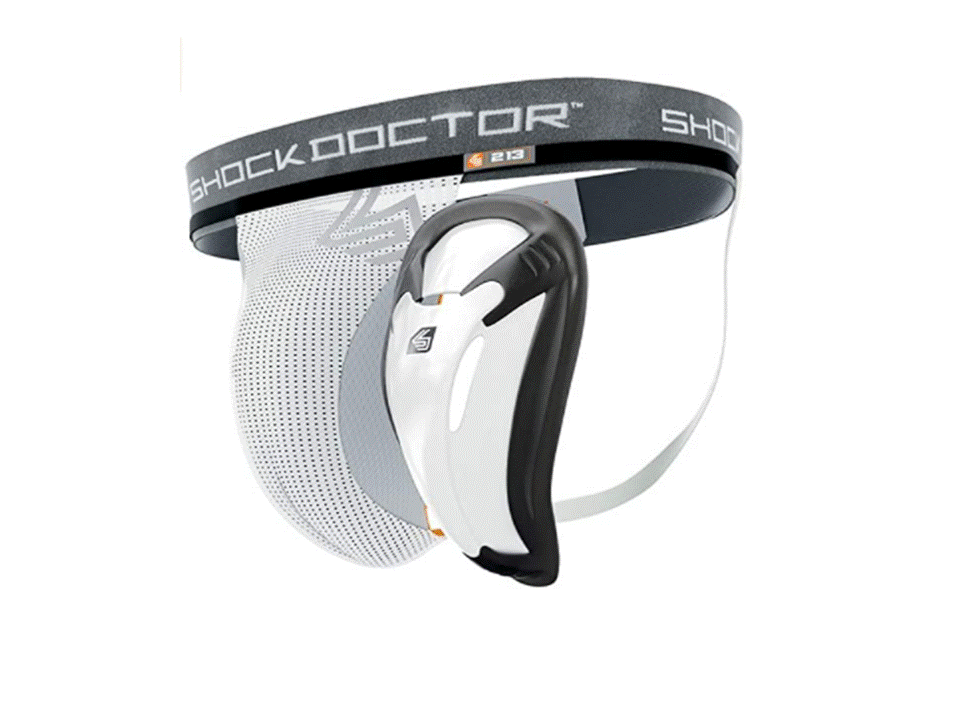
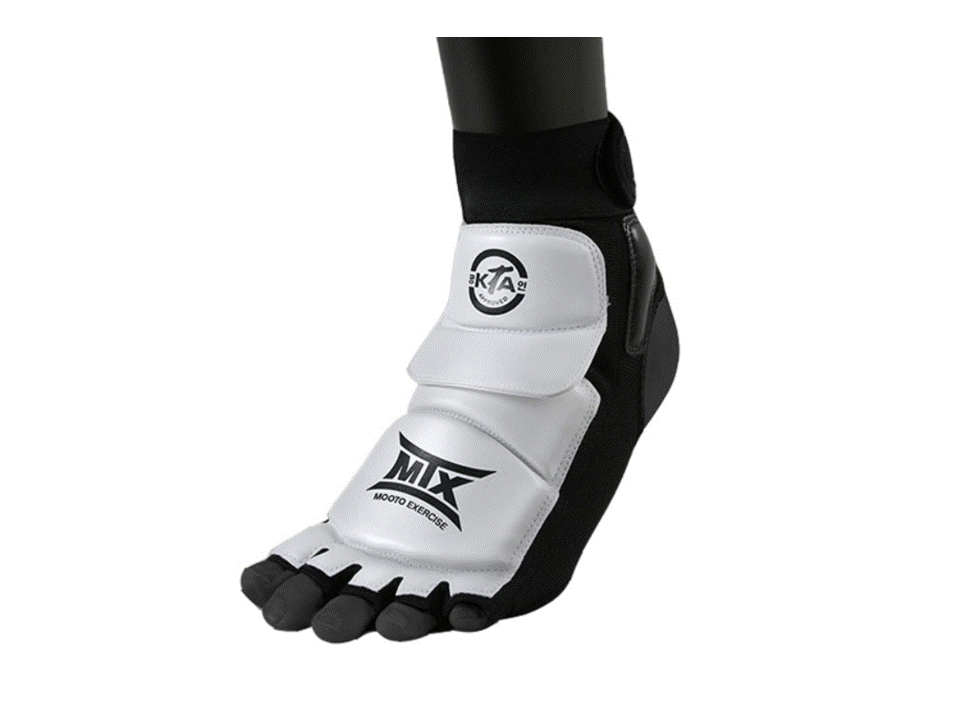
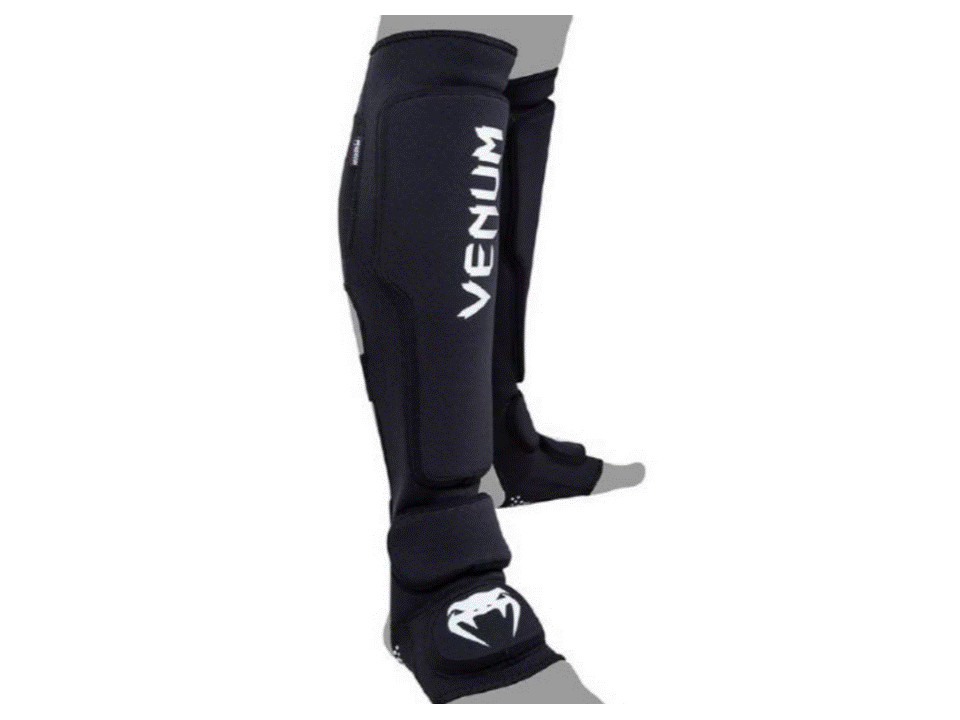
Good schools understand the importance of protective equipment when teaching martial arts in general and in combat in particular. Demonstrations and battles are not allowed without appropriate protective equipment! These are usually inexpensive shields compared to the physical damage they prevent. Also, there is no insurance without protective equipment! When striking a punching bag, be it a jab, cross, hook, or uppercut, boxing gloves should be used. It is recommended for full contact to use a body protector that maintains the integrity of the ribs. Also, shields for the head, teeth, groin, and legs are recommended.
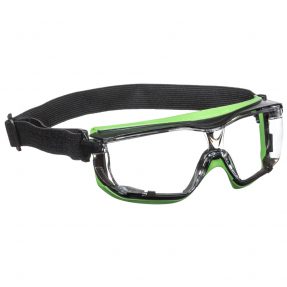
It is very important to practice Krav-Maga using rubber training knives and even more important during training to wear appropriate protective equipment: such as glasses designed to protect the eyes; a body protector; a Head guard against receiving an unwanted blow. The following is a list of recommended equipment for knife defense studies in Israeli Krav-Maga:


With what equipment is it recommended to practice Self-Defense at home?
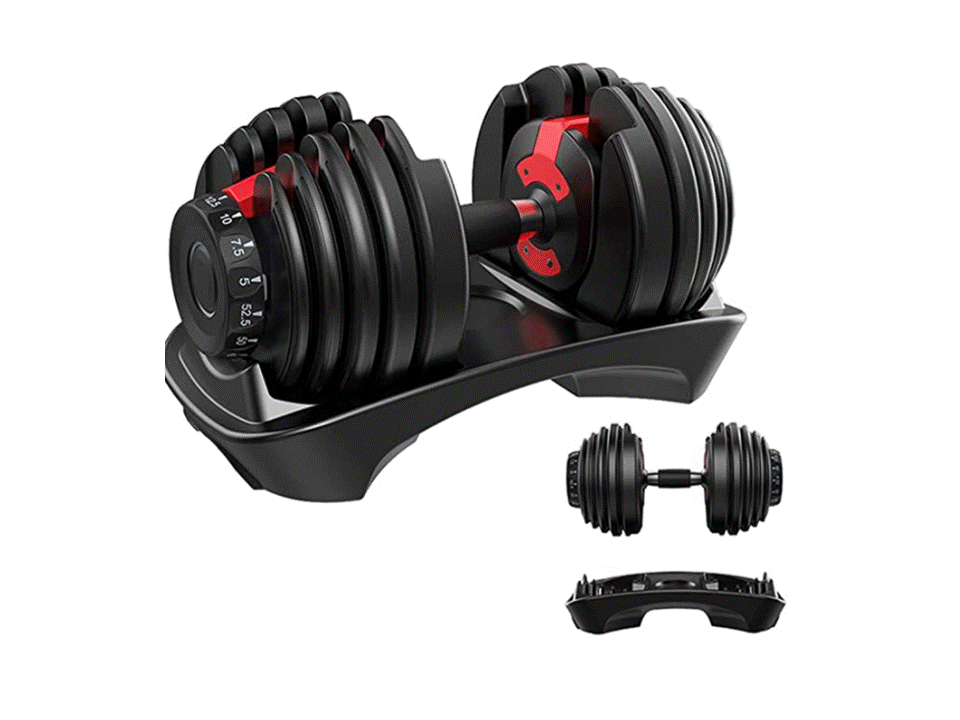
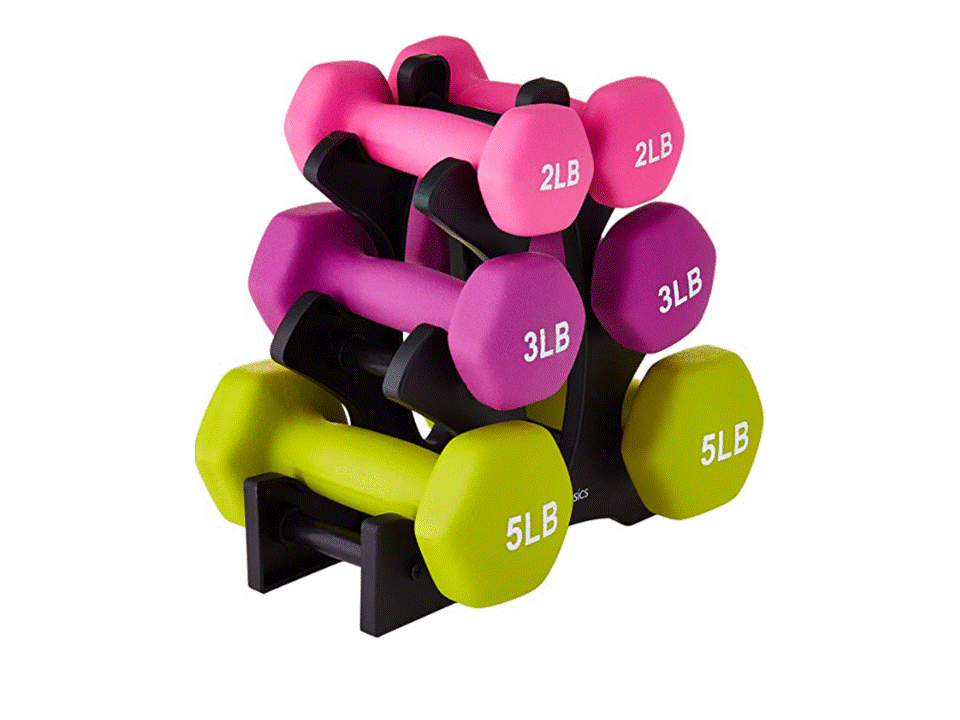
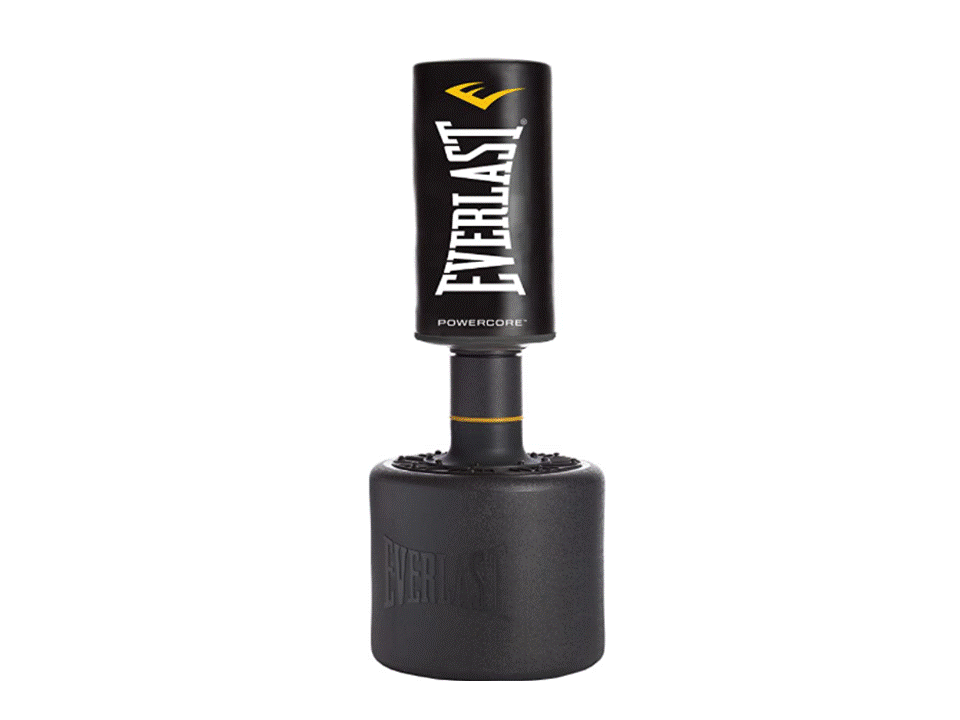
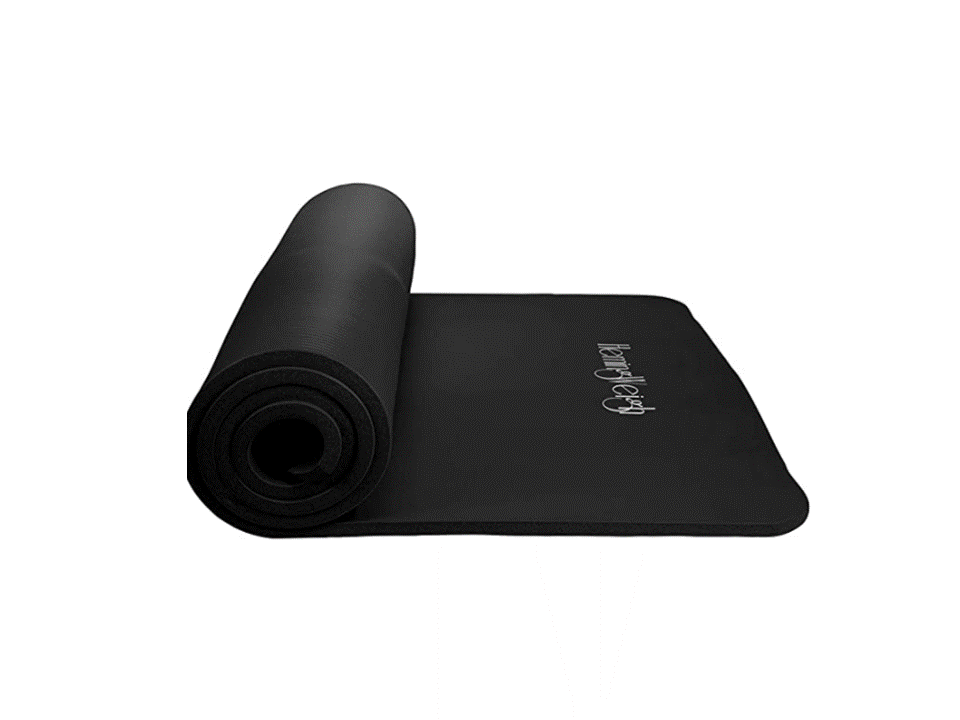
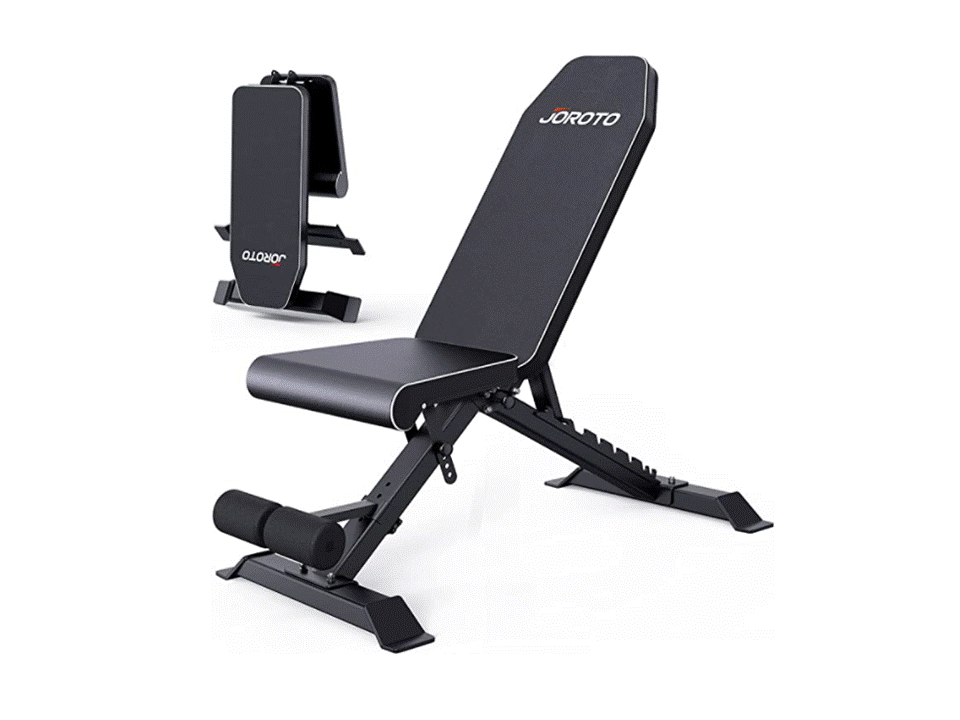
To learn Krav-Maga, one needs to practice the same thing, many times over. This is not a theoretical area compared to other martial arts where one can learn from a trainer by watching directly through a computer. So practice and interaction are of the utmost importance. Although, it is worth it and even recommended to work at home on punches and kicks, strength training, etc. For this purpose, it is possible to purchase minimal personal equipment that does not take up much space at home. Prepares physically for classes in the section. It also improves the following parameters: Strength, flexibility, cardiopulmonary endurance, and more.
Using a yoga mat, abdominal muscles can be improved; Training weights are to improve muscle strength; Using an adjustable strength bench can strengthen chest muscles by lifting weights; A free-standing punching bag is a perfect solution for punching and kicking improvement at home ... Below is a list of recommended equipment for home exercise:
Home training is recommended to be performed under the supervision of a certified trainer. It is recommended to avoid exercising alone at home!
How important is cardiopulmonary endurance in Self-Defense workouts?
First of all, this is health, and secondly, in a battle that does not end in a short time, the one who has cardiopulmonary endurance wins. To improve cardiopulmonary endurance, it is recommended to take brisk walks, combined with running, to increase and decrease the pace. These runs can be done outdoors, on the coast, on a Treadmill, or on a Home spinning bike. Recommended: Wear suitable shoes while running, and document and monitor your calorie burn and heart rate with your Smartwatch. Also, with the help of this it is very easy to see improvements in cardiopulmonary endurance, In fact, all your actions are recorded using a computer, and there is a training history. The following is a list of recommended personal equipment for home workouts, for developing cardiopulmonary endurance, and for monitoring and controlling progress:


Home training is recommended to be performed under the supervision of a certified trainer. It is recommended to avoid exercising alone at home!
Summary: Top Chokehold Release Techniques Analysis on the Ground, the Second Article
This article is a natural continuation of our previous article on the subject, (Top Chokehold Release Techniques: In Israeli Krav-Maga), so it is recommended to read it first. When, in this article, we focused on the problem of applying realistic exercises from different self-defense methods, and in this case, it is the KALAH Combat System. Our goal in this article was to understand the risks and chances of effective self-defense against suffocation on the ground when the attacker is from above, and from the side of the victim. We tried to answer two questions below: What is side choking on the ground? How KALAH Combat System copes with a side choke on the ground?
Written by Gil Peleg.
Professional consultant in Krav-Maga Mark Fesler.
Professional consultant in KALAH Idan Abolnik.
Dear friends, I invite you to read more about applicable Self-Defense in our Group below:

Dear friends, SUBSCRIBE to the Fitness Warriors Club's blogs page, and be the first to read new articles on the issues of Self-Defense:
Amazon's affiliate program - Fitness Warriors Club is participating in Amazon's affiliate program through the Website & through professional blogs where there are links to products marketed on Amazon. Fitness Warriors Club is not responsible for any economic and operational activities related to this program as for the refund of any payments regarding this program. All these issues will be settled with Amazon.


Comments